blocknote
Read the description before the number.
A lower number is not useful if the item does something different from what you expected. Check the item’s name, creator, scope and duration. Look for the difference between “for your avatar” and “inside this experience”.
Virtual content is subject to Roblox’s terms and permissions; it is not the same as buying an unrestricted physical object.[2]
Three purchase types worth recognising.
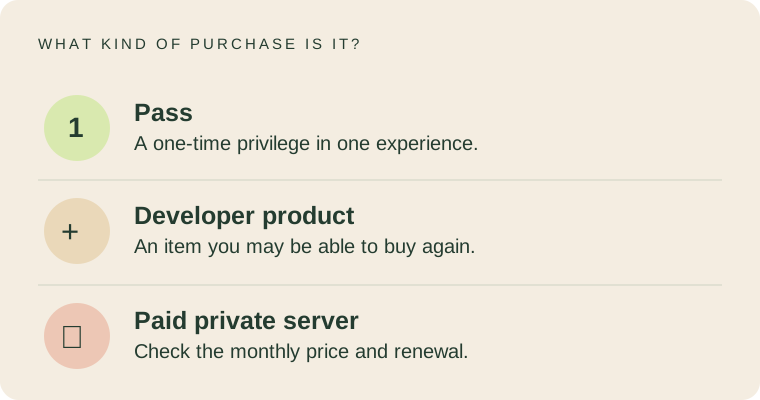
Passes: a one-time Robux purchase for a defined privilege inside an experience, such as access to an area or an ability. Read the creator’s description to understand what the privilege actually does.[3]
Developer products: items that can be bought more than once, such as a consumable or experience-specific currency. A repeatable product is not a pass simply because it looks like a similar button.[4]
Private servers: separate instances that let the owner control who joins. They can be free or have a monthly Robux cost. A paid server deserves a renewal check, not just a first-month check.[5]
An avatar item is about the item.

Before choosing clothing or an accessory, look at the preview and read the item information. Do not let a picture stand in for a description. “This looks good” and “I understand where it works” are two separate checks.
Avoid treating Limited items or resale activity as a savings strategy. The point of this guide is understanding and recreational budgeting, not speculation or a promise of future value.
Check what happens next month.
As of this review, the Roblox Plus help page says its included private-server benefit changed from 24 September 2026 to one free private server per supported game. Separately purchased servers are not automatically covered by that change. Check the current benefit and any separate recurring commitments.[6]
For a simple example, a server shown at 100 Robux per month would use 300 Robux over three monthly charges. Those are made-up teaching numbers, not a current price quote.
A practical pause before confirming.
Name the benefit.
Describe what it does without using words such as “premium”, “exclusive” or “must-have”.
Check the scope.
Is it an avatar item, a feature in one experience or access to a particular server?
Count repeat costs.
Allow for consumables, separate subscriptions and future months. Do not assume one payment covers everything.
Keep a no-spend option.
Ask whether the experience is still enjoyable without the extra. Decide away from a countdown or peer pressure.
When something goes wrong.
Review the transaction and the item or experience description. Use the relevant official support route for billing or account problems. A request for help is not a guarantee of a refund; the circumstances, purchase channel and applicable rights matter.[21]
Do not send receipts, card details, passwords or codes to Blocknote. It has no access to Roblox’s transactions and cannot reverse them.
Read it on Roblox.
These are the official pages used for this guide. Checked on 28 September 2026. Requirements can change.